Why Lead Times for Portable Sanitation Supplies are So Long Right Now
May 20, 2020
Restarting After COVID-19
June 15, 2020COVID-19 will have an impact on our daily lives for the foreseeable future. Whether it’s due to mandate or personal choice, chances are you’ll need some type of protective face covering when working your portable sanitation job or out in public.
Medical masks should be saved for healthcare professionals. However, there are plenty of alternative options you can utilize… including homemade masks. With just a few supplies and a little time, you or someone you know can put together a DIY mask to help protect against coronavirus.
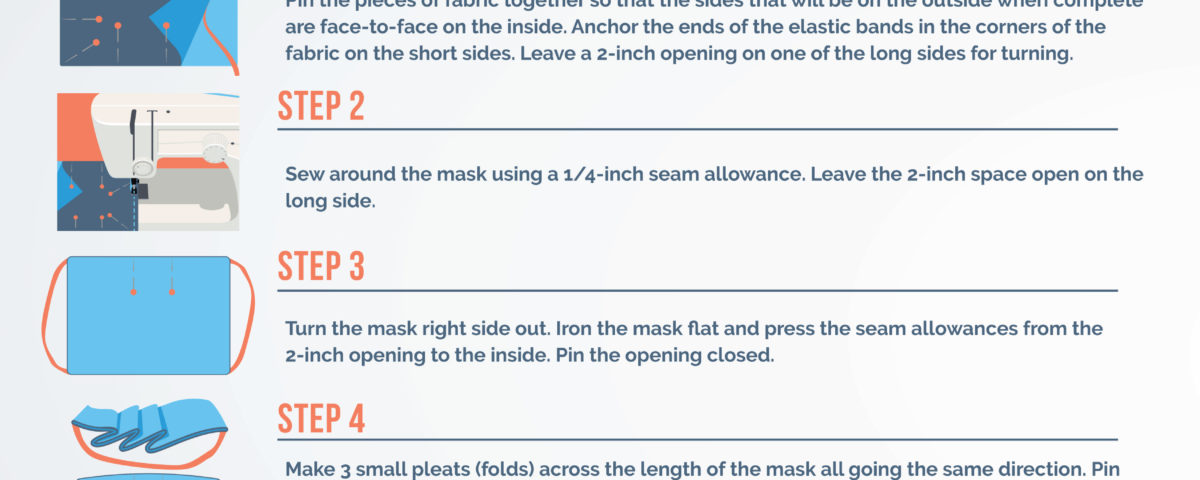
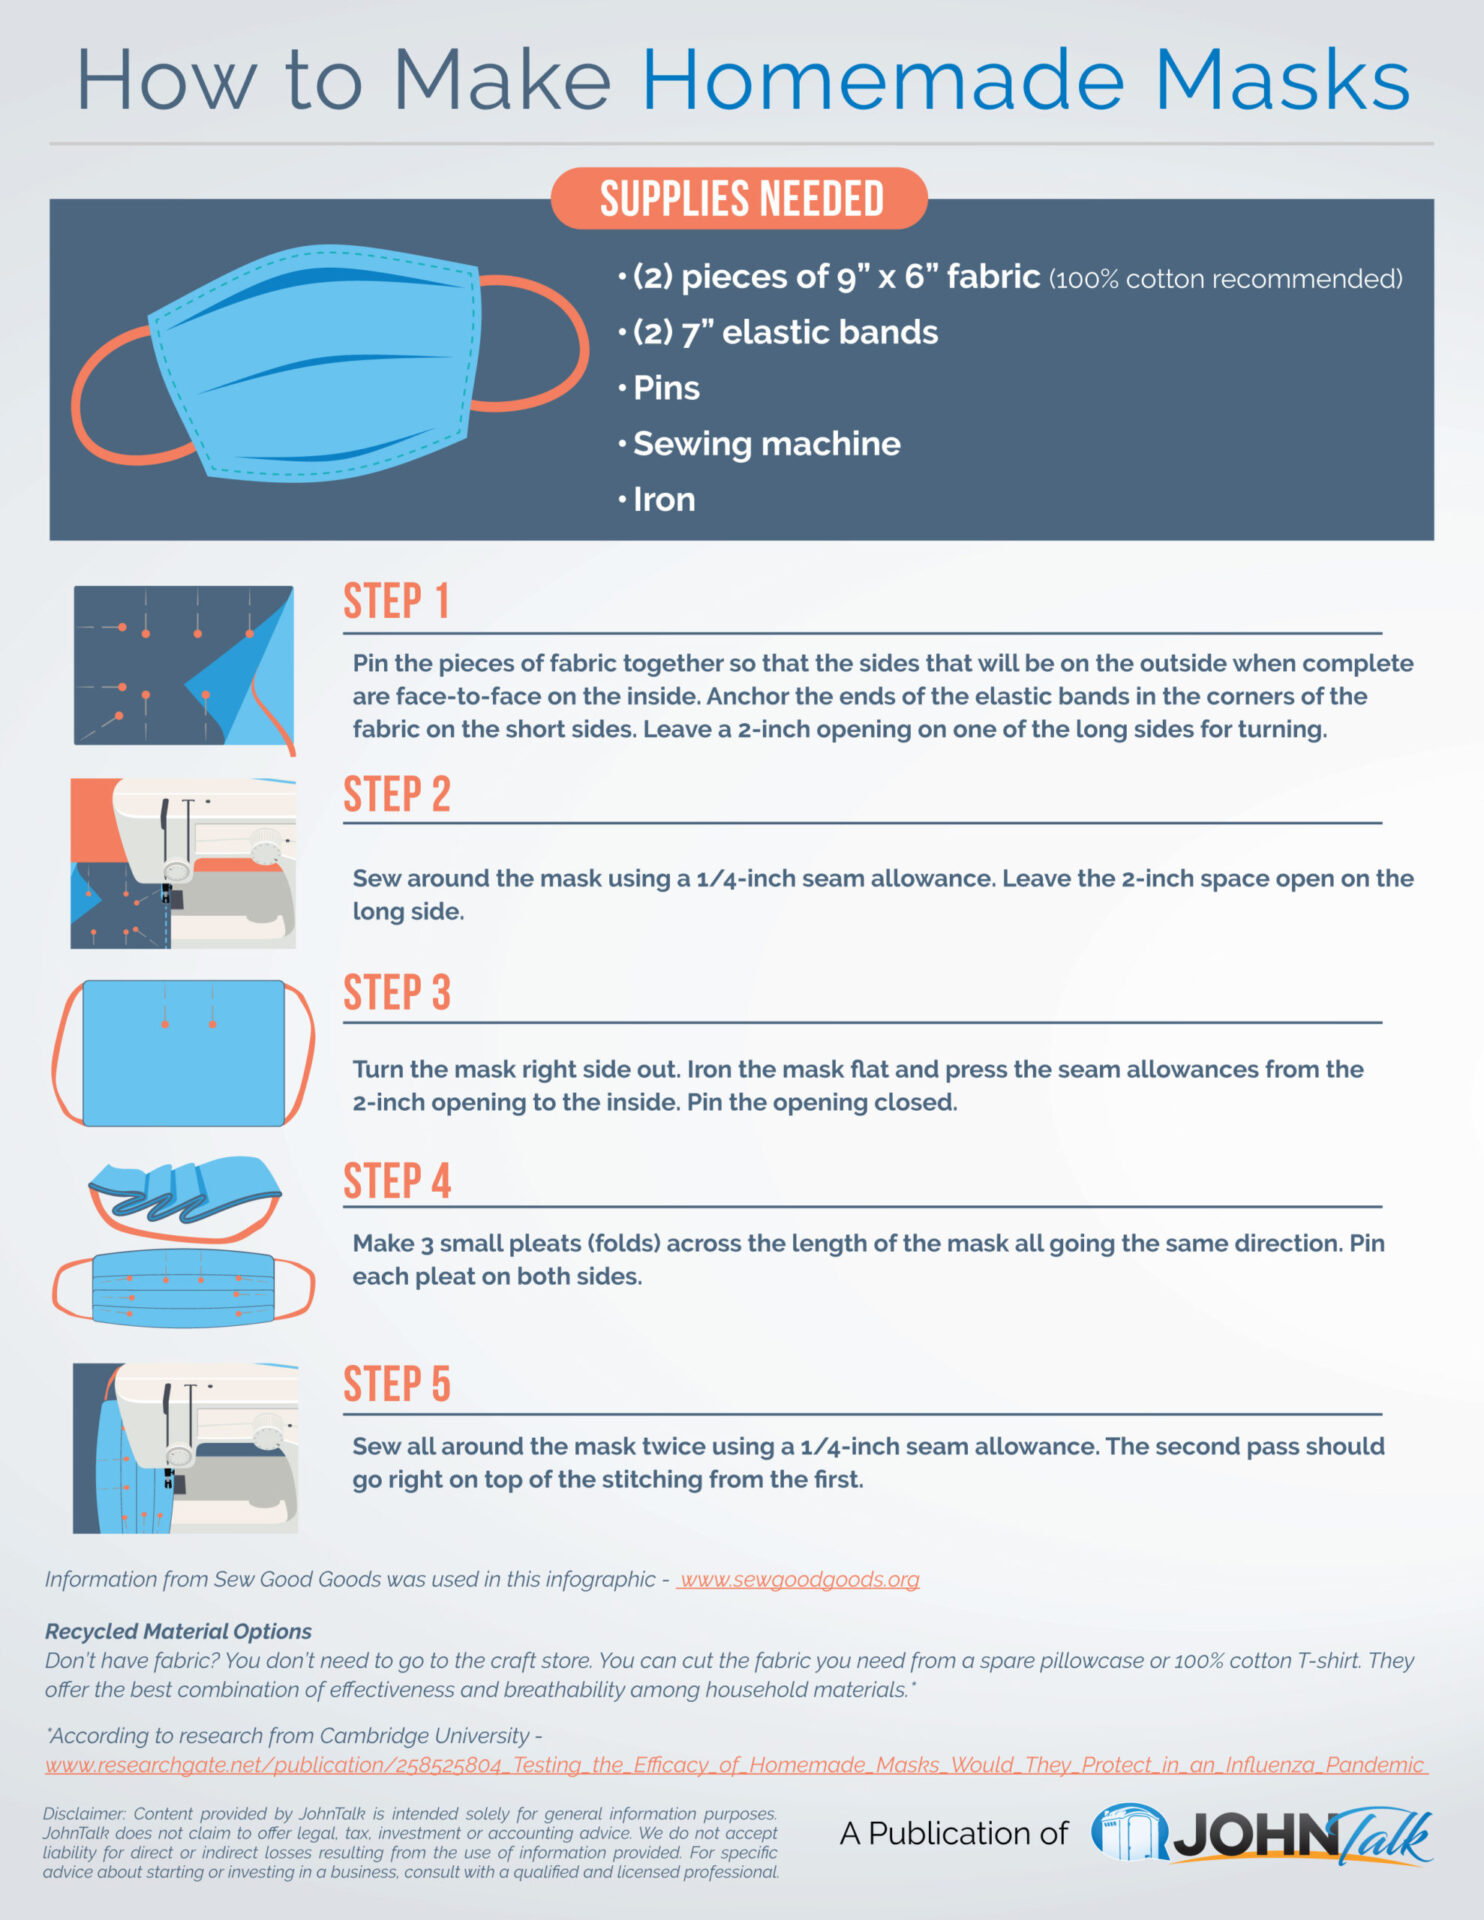
Homemade masks are cheap and can be easily completed by anyone who knows how to sew. For step-by-step instructions, refer to the infographic below.
Like this infographic? Share it with your friends and colleagues!
Get the JohnTalk “ALL-ACCESS PASS” & become a member for FREE!
Benefits Include: Subscription to JohnTalk Digital & Print Newsletters • JohnTalk Vault In-Depth Content • Full Access to the JohnTalk Classifieds & Ask a PRO Forum
Looking to Take Your Portable Restroom Business to the NEXT LEVEL? Download our FREE Guide: “Your Guide to Operating A Portable Restroom Business.”
Thinking About GETTING INTO the Portable Restroom Industry? Download our FREE Guide: “Your Guide to Starting A Portable Restroom Business.”
How to Make Homemade Masks
Supplies Needed
- (2) pieces of 9” x 6” fabric (100% cotton recommended)
- (2) 7” elastic bands
- Pins
- Sewing machine
- Iron
Instructions
Step 1
- Pin the pieces of fabric together so that the sides that will be on the outside when complete are face-to-face on the inside. Anchor the ends of the elastic bands in the corners of the fabric on the short sides. Leave a 2-inch opening on one of the long sides for turning.
Step 2
- Sew around the mask using a 1/4-inch seam allowance. Leave the 2-inch space open on the long side.
Step 3
- Turn the mask right side out. Iron the mask flat and press the seam allowances from the 2-inch opening to the inside. Pin the opening closed.
Step 4
- Make 3 small pleats (folds) across the length of the mask all going the same direction. Pin each pleat on both sides.
Step 5
- Sew all around the mask twice using a 1/4-inch seam allowance. The second pass should go right on top of the stitching from the first.
Information from Sew Good Goods was used in this infographic – www.sewgoodgoods.org
Recycled Material Options
Don’t have fabric? You don’t need to go to the craft store. You can cut the fabric you need from a spare pillowcase or 100% cotton T-shirt. They offer the best combination of effectiveness and breathability among household materials.*
*According to research from Cambridge University – www.researchgate.net/publication/258525804_Testing_the_Efficacy_of_Homemade_Masks_Would_They_Protect_in_an_Influenza_Pandemic


