Should You Hide Your Branding at the Request of a Customer?
August 13, 2018
How to Sustain and Manage Company Growth
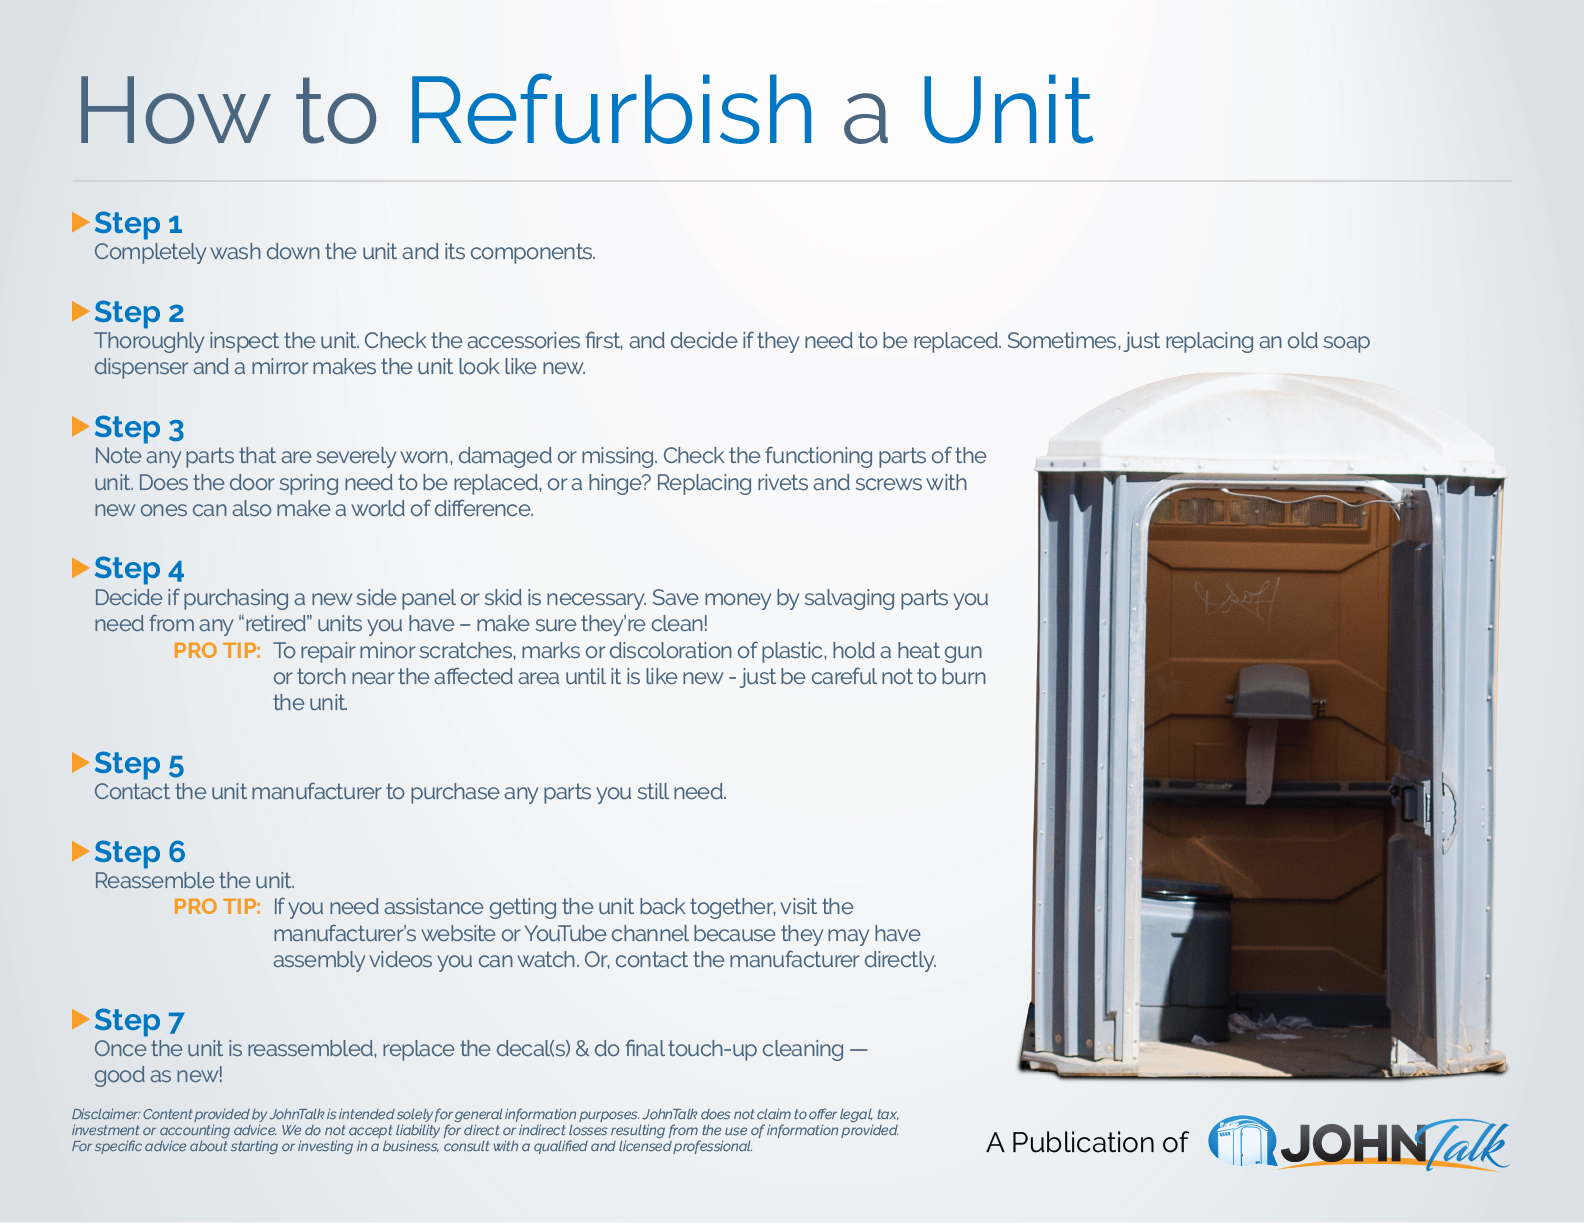
August 13, 2018It’s more cost-effective for portable restroom business owners to repair units that are damaged or have broken components than to purchase new units every time a problem arises. This is common knowledge in the industry. The slow season, typically beginning in fall, is when many employees turn their attention to fixing up units. However, if the inventory of available units is limited, this task is performed year-round as necessary. For a quick summary of how to refurbish a unit (and to pick up a couple great tips), take a look at this infographic:

Like this infographic? Share it with your friends and colleagues!
Get the JohnTalk “ALL-ACCESS PASS” & become a member for FREE!
Benefits Include: Subscription to JohnTalk Digital & Print Newsletters • JohnTalk Vault In-Depth Content • Full Access to the JohnTalk Classifieds & Ask a PRO Forum
Looking to Take Your Portable Restroom Business to the NEXT LEVEL? Download our FREE Guide: “Your Guide to Operating A Portable Restroom Business.”
Thinking About GETTING INTO the Portable Restroom Industry? Download our FREE Guide: “Your Guide to Starting A Portable Restroom Business.”
How to Refurbish a Unit
Step 1: Completely wash down the unit and its components.
Step 2: Thoroughly inspect the unit. Check the accessories first, and decide if they need to be replaced. Sometimes, just replacing an old soap dispenser and a mirror makes the unit look like new.
Step 3: Note any parts that are severely worn, damaged or missing. Check the functioning parts of the unit. Does the door spring need to be replaced, or a hinge? Replacing rivets and screws with new ones can also make a world of difference.
Step 4: Decide if purchasing a new side panel or skid is necessary. Save money by salvaging parts you need from any “retired” units you have – make sure they’re clean!
Pro Tip: To repair minor scratches, marks or discoloration of plastic, hold a heat gun or torch near the affected area until it is like new — just be careful not to burn the unit!
Step 5: Contact the unit manufacturer to purchase any parts you still need.
Step 6: Reassemble the unit.
Pro Tip: If you need assistance getting the unit back together, visit the manufacturer’s website or YouTube channel because they may have assembly videos you can watch. Or, contact the manufacturer directly.
Step 7: Once the unit is reassembled, replace the decal(s) & do final touch-up cleaning — good as new!


